# Webpack 多页面打包
由于现在的前端框架 React、Vue 框架都是单页应用,单页应用的意思简单来说就是生成一个 html 文件,所有的 js 都在这个页面中引用执行。
今天我们来讲一下,多页应用在 webpack 中该怎么打包,即在打包过程中生成多个 html 文件。因为在一些老的代码中可能还是会存在一些使用多页应用的场景。
其实原理就是使用 html-webpack-plugin 帮助我们来实现。
# 写点代码
除了入口文件 index.js,我们再创建两个文件 list.js 和 detail.js,以这三个作为我们打包的三个文件。
// index.js
import React, { Component } from 'react';
import ReactDom from 'react-dom';

class App extends Component {
  render() {
    return <div>首页</div>;
  }
}

ReactDom.render(<App />, document.getElementById('root'));

// list.js
import React, { Component } from 'react';
import ReactDom from 'react-dom';

class App extends Component {
  render() {
    return <div>列表页</div>;
  }
}

ReactDom.render(<App />, document.getElementById('root'));

// details.js
import React, { Component } from 'react';
import ReactDom from 'react-dom';

class App extends Component {
  render() {
    return <div>详情页</div>;
  }
}

ReactDom.render(<App />, document.getElementById('root'));
现在是三个页面,我想生成三个页面 index.html、list.html、details.html,我们该怎么配置呢?
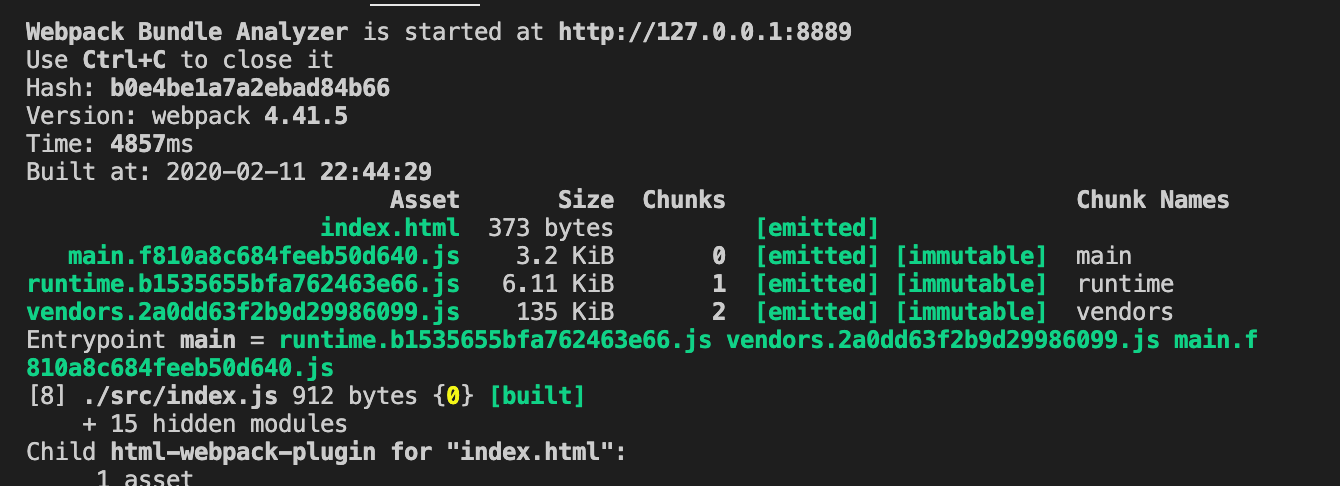
现在我们先打包一下文件,我们可以看到在页面中只生成了一个 index.html:
# 配置多入口
现在我们有三个 js,我们就需要配置三个入口文件:
...

const commonConfig = {
  entry: {
    main: "./src/index.js",
    list: "./src/list.js",
    details: "./src/details.js",
  },
  ...
}

...
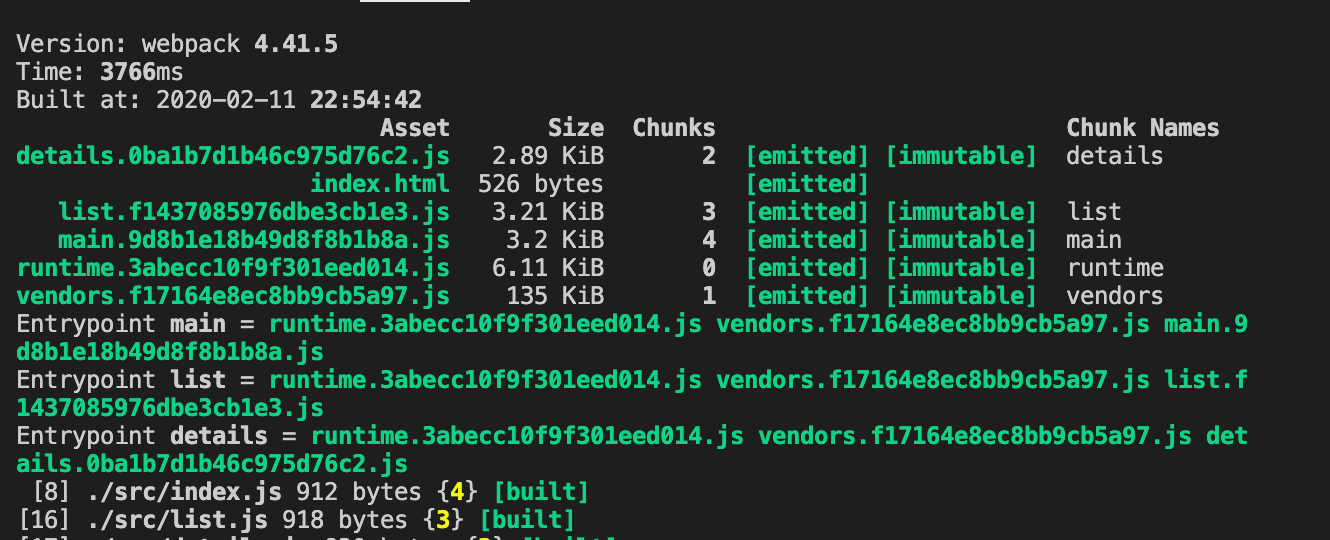
我们重新打包一下 npm run build,可以看到多打包出了 details.***.js 和 list.***.js:
但是 html 还是只有一个,在这个 html 页面中引入了我们所有打包出来的 js 文件,
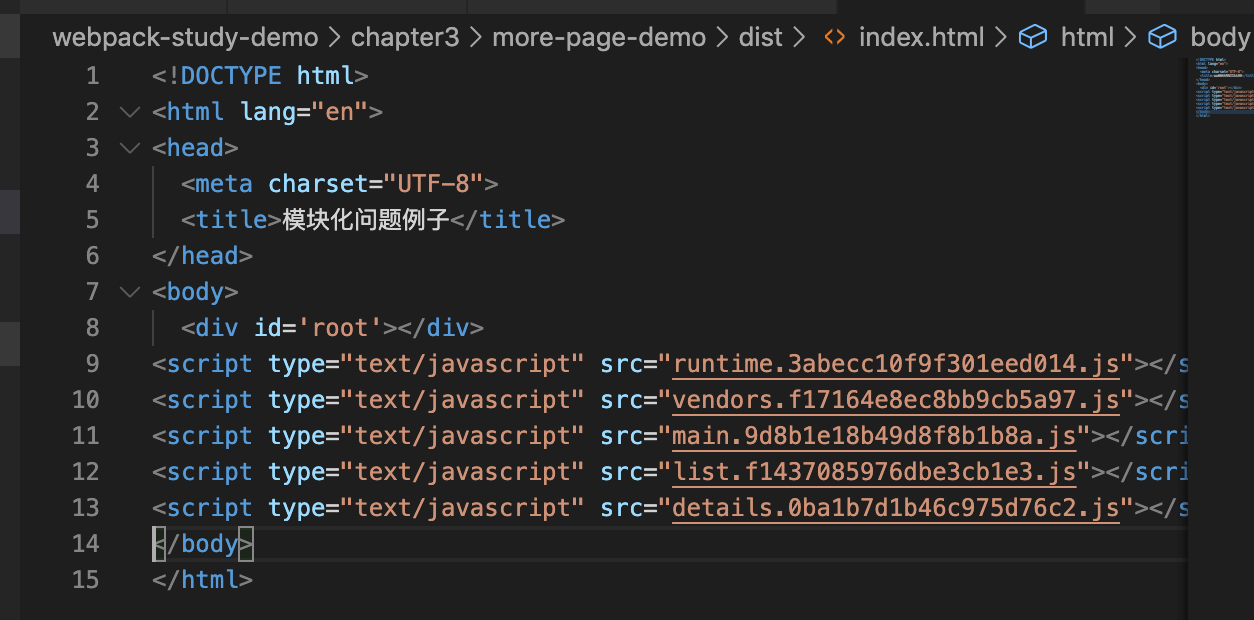
这个不是我们想要的结果,我们想要结果是在 index.html 引入 index.js,在 list.html 引入 list.js,在 details.html 引入 details.js。
这种情况下我们就需要用到 html-webpack-plugin 帮我们多生成几个页面了,并将对应的文件或者说 chunk 引入进来。
# 配置 html-webpack-plugin
要想生成多个 html,我们还是需要使用 html-webpack-plugin 这个好东西,他下面有很多参数,大家可以参考 html-webpack-plugin 官方文档,在这里我们要使用其中的 filename 和 chunks 参数,分别是对应生成的 html 名称和需要在页面中引入的 chunks 名字,我们修改配置 webpack.common.js,多增加两个 html-webpack-plugin :
...

const commonConfig = {
  entry: {
    main: "./src/index.js",
    list: "./src/list.js",
    details: "./src/details.js",
  },
  ...
  plugins: [
    ...
    new HtmlWebpackPlugin({
      template: 'src/index.html',
      filename: 'index.html',
      chunks: ['runtime', 'vendors', 'main'],
    }),
    new HtmlWebpackPlugin({
      template: 'src/index.html',
      filename: 'list.html',
      chunks: ['runtime', 'vendors', 'list'],
    }),
    new HtmlWebpackPlugin({
      template: 'src/index.html',
      filename: 'details.html',
      chunks: ['runtime', 'vendors', 'details'],
    }),
    ...
  ],
  optimization: {
    usedExports: true,
    runtimeChunk: {
    	name: 'runtime',
    },
    splitChunks: {
      chunks: 'all',
      cacheGroups: {
        vendors: {
          test: /[\\/]node_modules[\\/]/,
          priority: -10,
          name: 'vendors',
        }
      }
    },
  },
}

...
chunks 的配置是要引入到 html 中的 webpack 打包后的 js 文件。
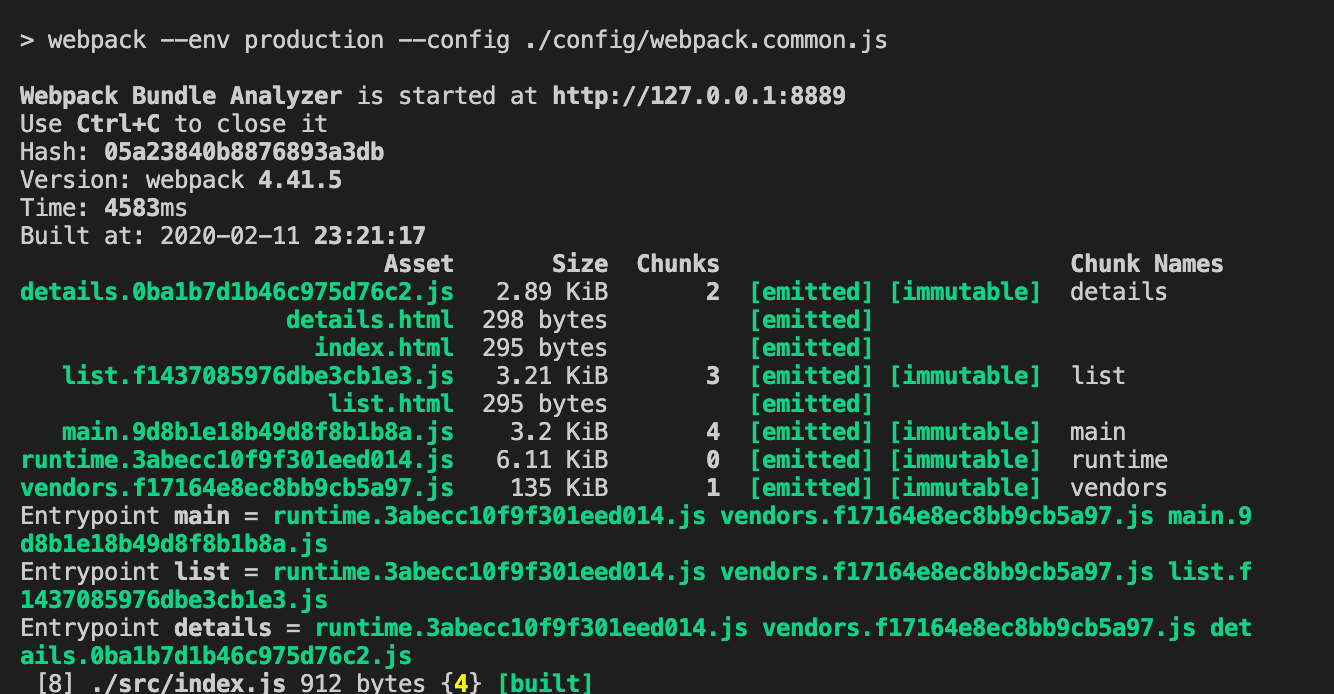
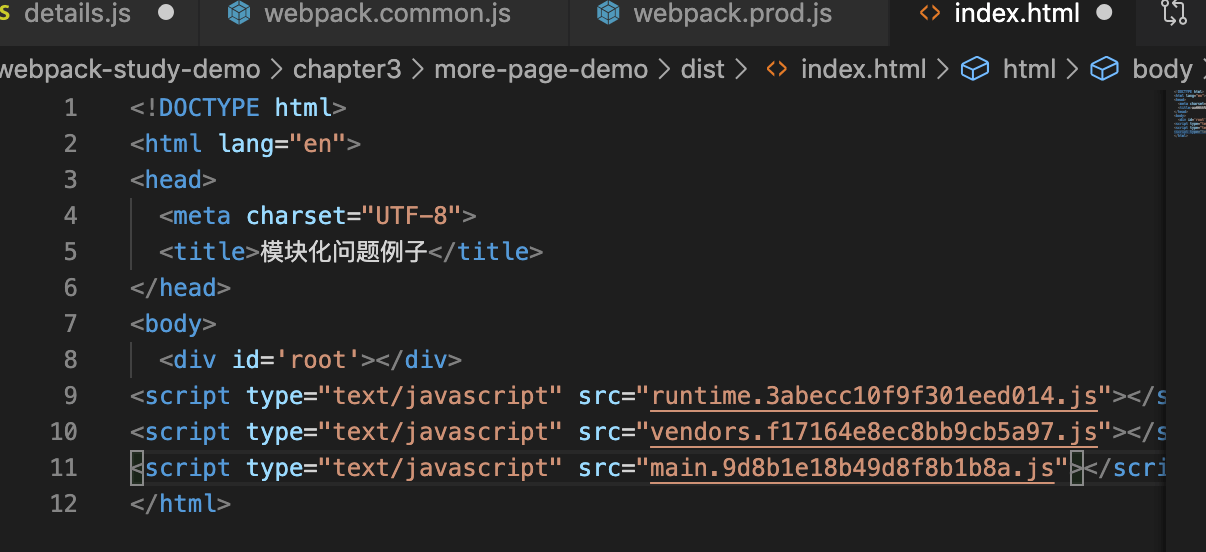
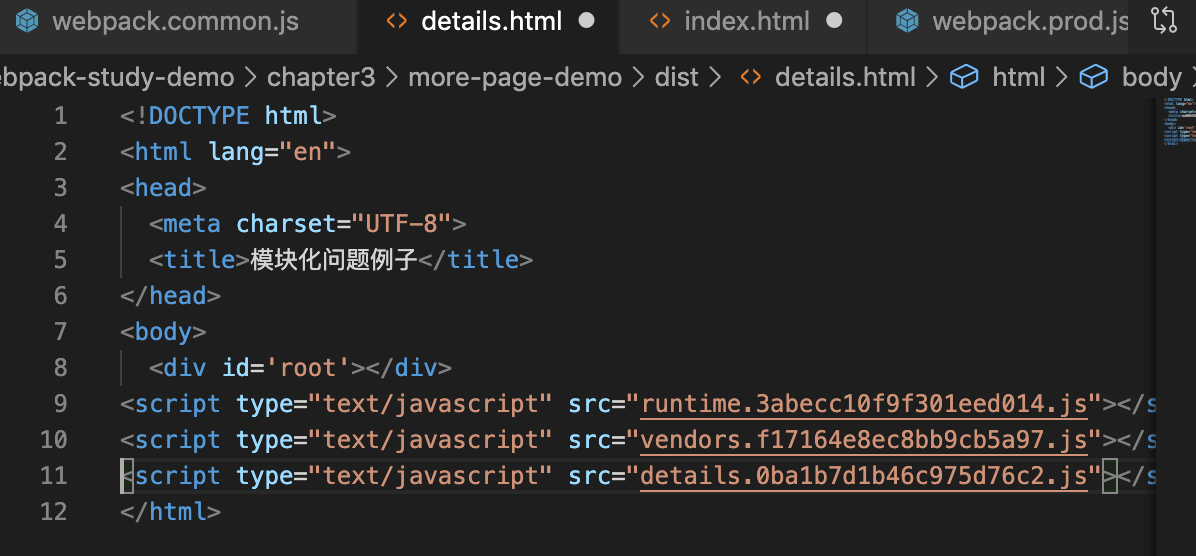
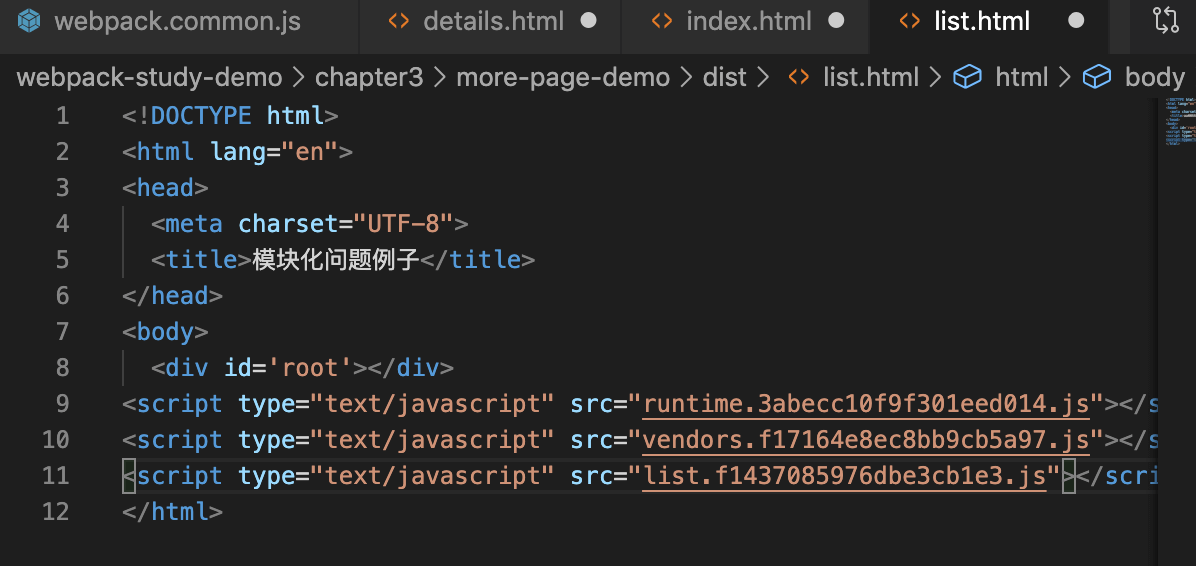
我们重新打包一下 npm run build,dist 目录下生成了三个 html 文件,并且每个 html 文件都引入了相应的 js:
# Index.html
# details.html
# list.html
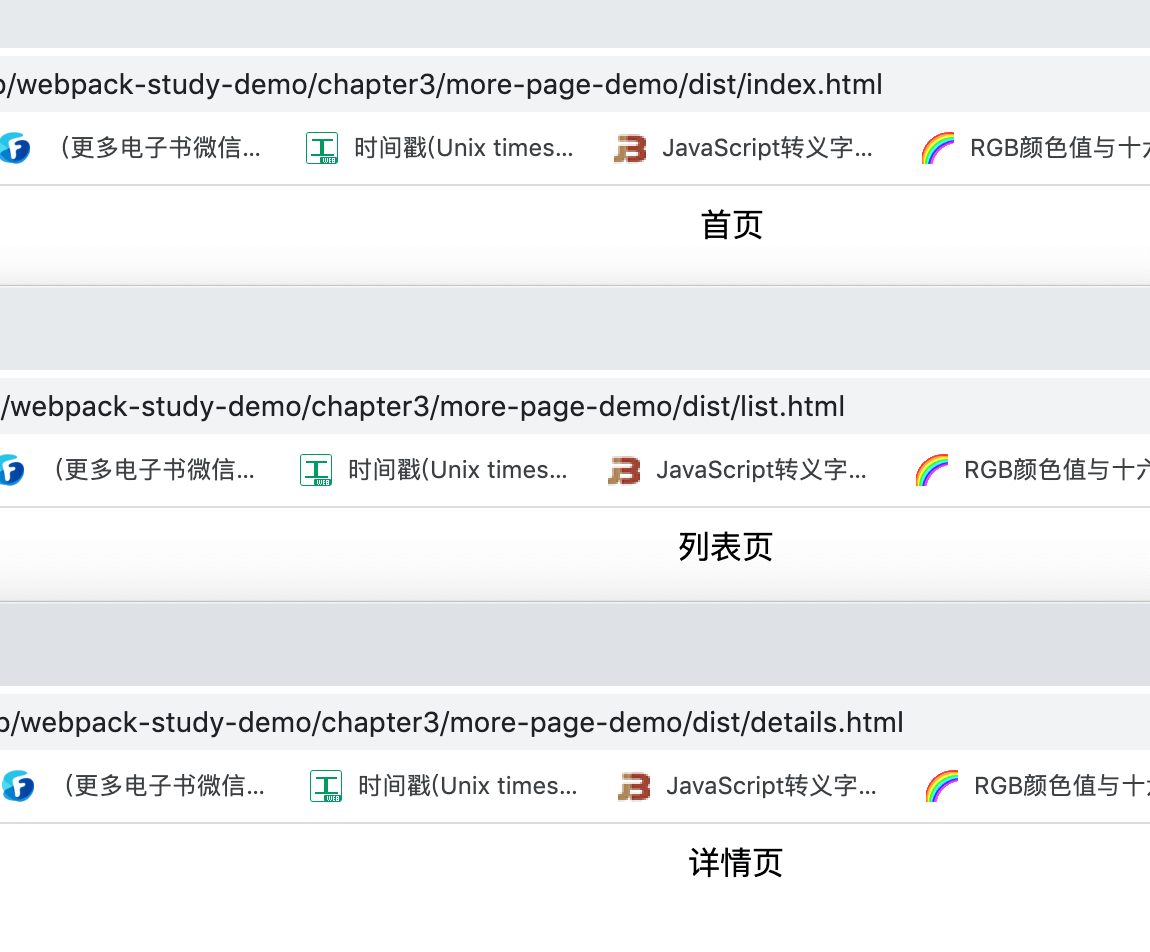
一些都顺利打包完成了,我们打开各自的页面,都能正常运行:
# 配置优化
如果我们在新增一个入口,我们还需要再手动的去新增一个 html-webpack-plugin,并添加相应的参数配置。
如果我们能根据入口,来自动的添加新增 html-webpack-plugin,说搞就搞。
我们可以自己写一个方法,去组一个 plugins,而且根据入口文件组装 html-webpack-plugin:
const HtmlWebpackPlugin = require('html-webpack-plugin');

...

const makePlugins = (configs) => {
  const plugins = [
    new CleanWebpackPlugin(),
  ];

  Object.keys(configs.entry).forEach(item => { // 遍历输出入口文件,拼接 HtmlWebpackPlugin
    plugins.push(
      new HtmlWebpackPlugin({
        template: 'src/index.html',
        filename: `${item}.html`,
        chunks: ['runtime', 'vendors', item]
      })
    )
  });
  return plugins;
}

const commonConfig = {
  entry: {
    index: "./src/index.js",
    list: "./src/list.js",
    details: "./src/details.js",
  },
  ...
}

commonConfig.plugins = makePlugins(commonConfig);

...
我们重新打包一下 npm run build,页面打包成功了:
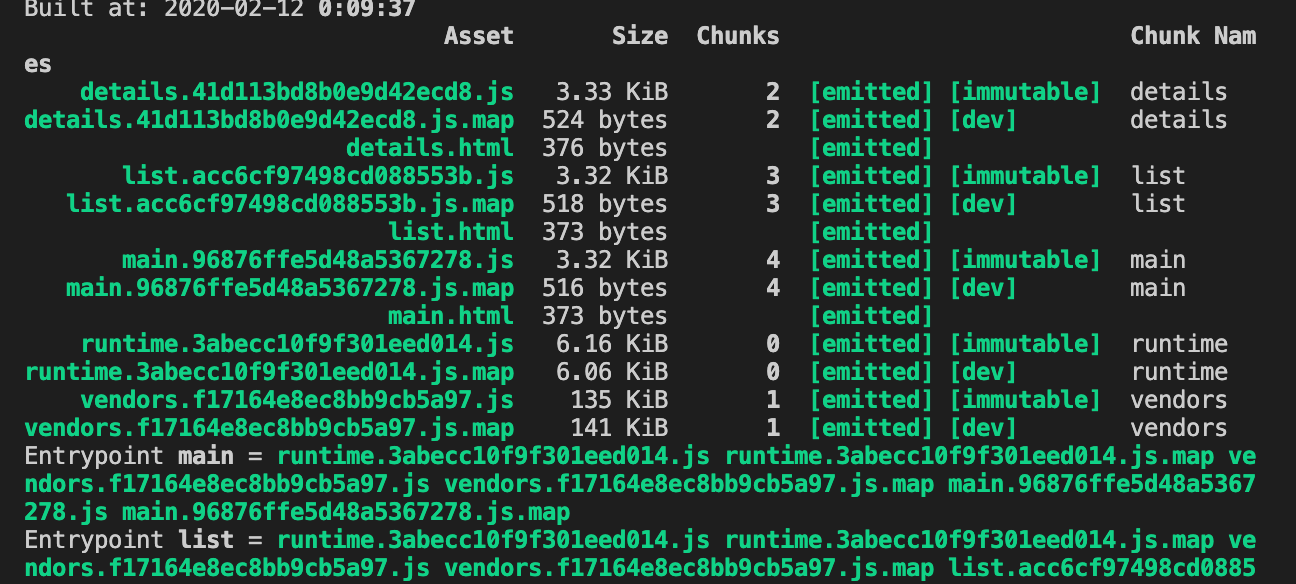
这个时候我们在新增入口的时候,我们就只需要在入口文件配置就行了。比如说我们想再增加一个 userInfo 页面,我们只需要在路口文件配置就行:
...
const commonConfig = {
  entry: {
    index: "./src/index.js",
    list: "./src/list.js",
    details: "./src/details.js",
    userInfo: "./src/userInfo.js"
  },
  ...
}
...
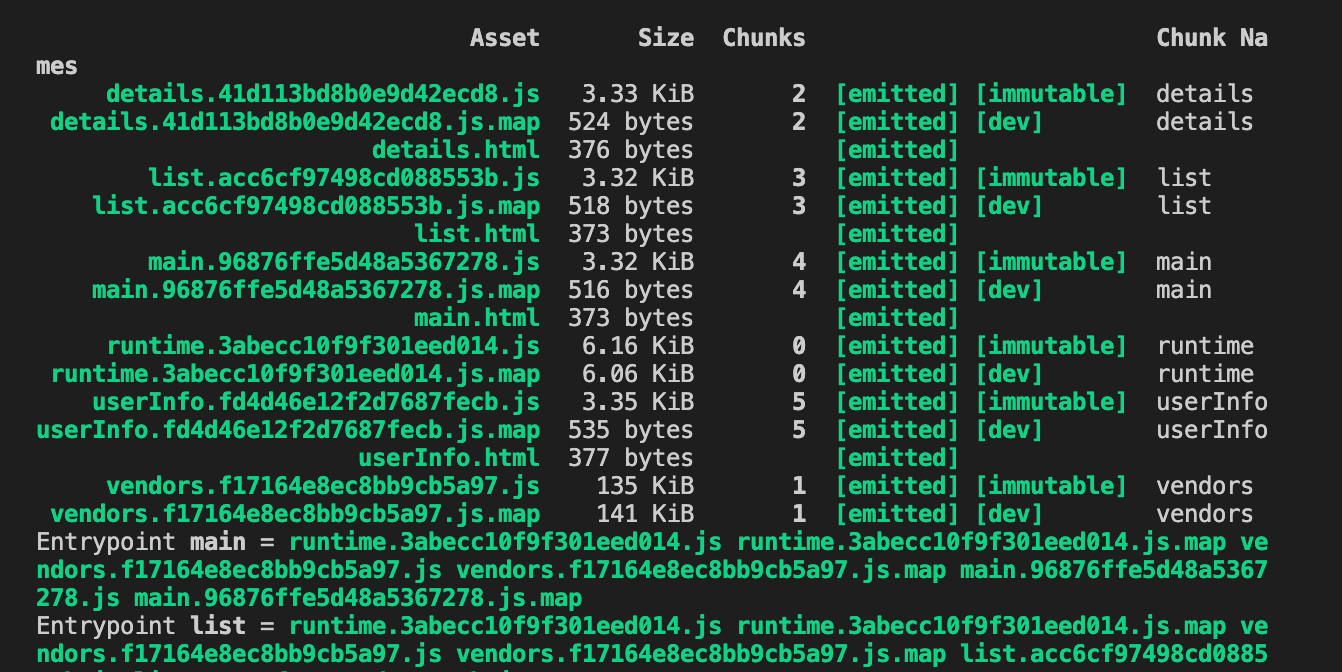
我们重新打包一下,userInfo.html 页面自动生成了:
# 相关链接
# 示例代码
示例代码可以看这里: